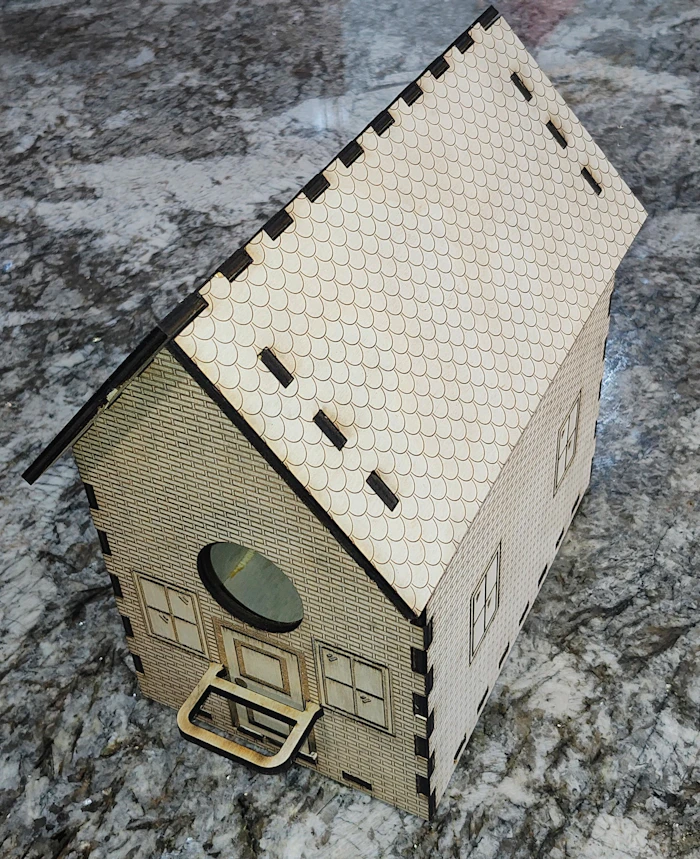
Bird House

Feb 10 (updated Jun 30)
Public

Assembly:

Note: Gluing is not completely necessary but will help the house better withstand wind and rain.

  1. Use spray-on polyurethane to coat the inside of each piece and allow to dry.

  2. Insert the perch into the front side of the house and secure with the two tabs.

  3. Apply small amounts of glue to the front-side tabs of the bottom piece.

  4. Join the front side to the bottom piece.

  5. Apply small amounts of glue to the wall tabs and wall-side tabs of the bottom piece.

  6. Join the wall to the bottom and front piece.

  7. Repeat for the back piece and other wall.

  8. Apply small amounts of glue to the roof tabs of the front, back and roof pieces.

  9. (optional) Route string/cable through desired holes for hanging purposes.

  10. Join the roof sections to the assembly.

  11. Use spray-on polyurethane to coat the outside of the assembly and allow to dry.

Related:

Makes & Comments
eddie alllen
bottom has 5 tabs on 2 sides and4 tabs on the other but the sides and front and back have 5 openings and the bottom doesn't match
LENgraving
@LENgraving
Author
Thank you for the report. I'm not seeing the behavior; what Width, Depth and Tab Width values are you using? I did update the Read Me so that each of the components can now be individually downloaded.
eddie alllen
im sorry i dont know the values i put in. ithink i used the default values except for L x W x H
LENgraving
@LENgraving
Author
The only thing I can think of is if one of the values was negative (this tends to also cause issues on the source reinforced box project). It would also appear that a thicker material size was specified. I'll continue to try and replicate and if you have any other clues as to what you might have set, please send them along.
eddie alllen
ok Thanks
You must be a member of Cuttle Pro to post in this area.