Pop Out Birthday Card
 wijitworks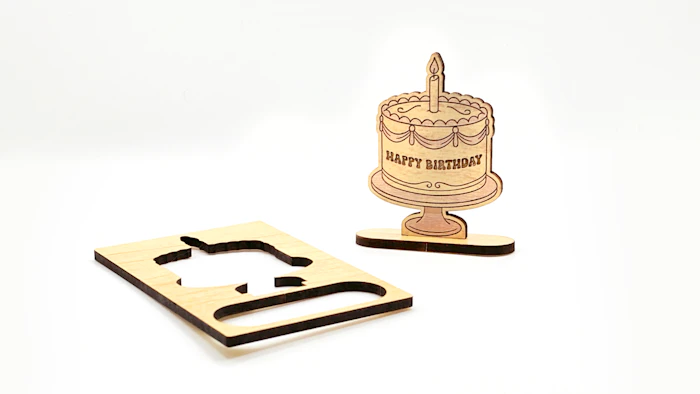
Customize the birthday cake message, choose your fonts, and optionally add a message area for details such as To and From. The cake remains attached to the card with small bridges until the recipient pops it out and assembles it.
How it works
The birthday cake and base are cut directly into the card.
Small bridges keep the pieces connected during cutting, handling, and gifting. When the recipient is ready to assemble the cake, they can gently pop the pieces free and insert the cake stand tab into the base slot.
Customize
Text
Enter the main message for the cake, such as:
Happy Birthday!
Happy Anniversary
Congratulations
Font
Choose a font for the main cake message.
Include Message
Turn this on to add an extra message area to the card.
This works well for:
To and From
A short congratulatory message
A date
A team or organization name
Assembly
Customize the birthday cake and message.
Set the slot thickness for your material.
Adjust the bridge size if needed.
Cut the card.
Gently pop the cake and base pieces free.
Insert the cake stand tab into the base slot.
No glue is required if the slot fit is snug.
Assembly Notes
The stand uses a slot fit design
Adjust slot thickness based on your material
A snug friction fit is ideal, but glue maybe required

